
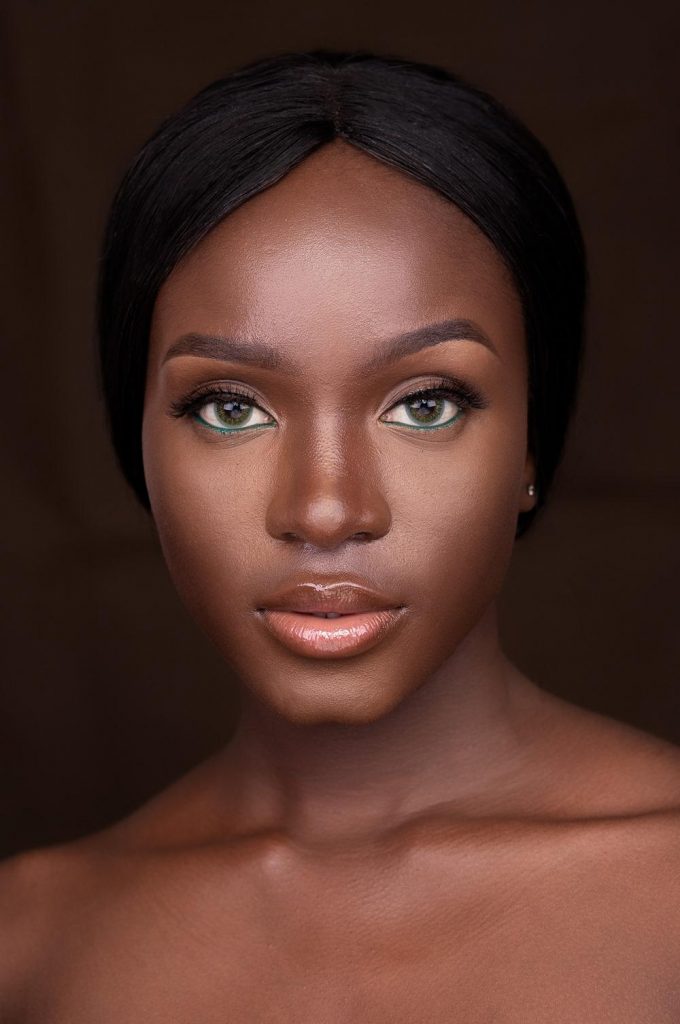
When you apply foundation, your face instantly becomes flat, because all the dimension on your face have been removed, and then your face has this singular shade all round. The essence of highlighting and contouring is to restore warmth and dimensions to your face, or to create an illusion of one. Contouring helps make parts of your face recede and appear slimmer and more defined, while highlighting helps emphasize the existing glow of your face where the sun naturally hits.
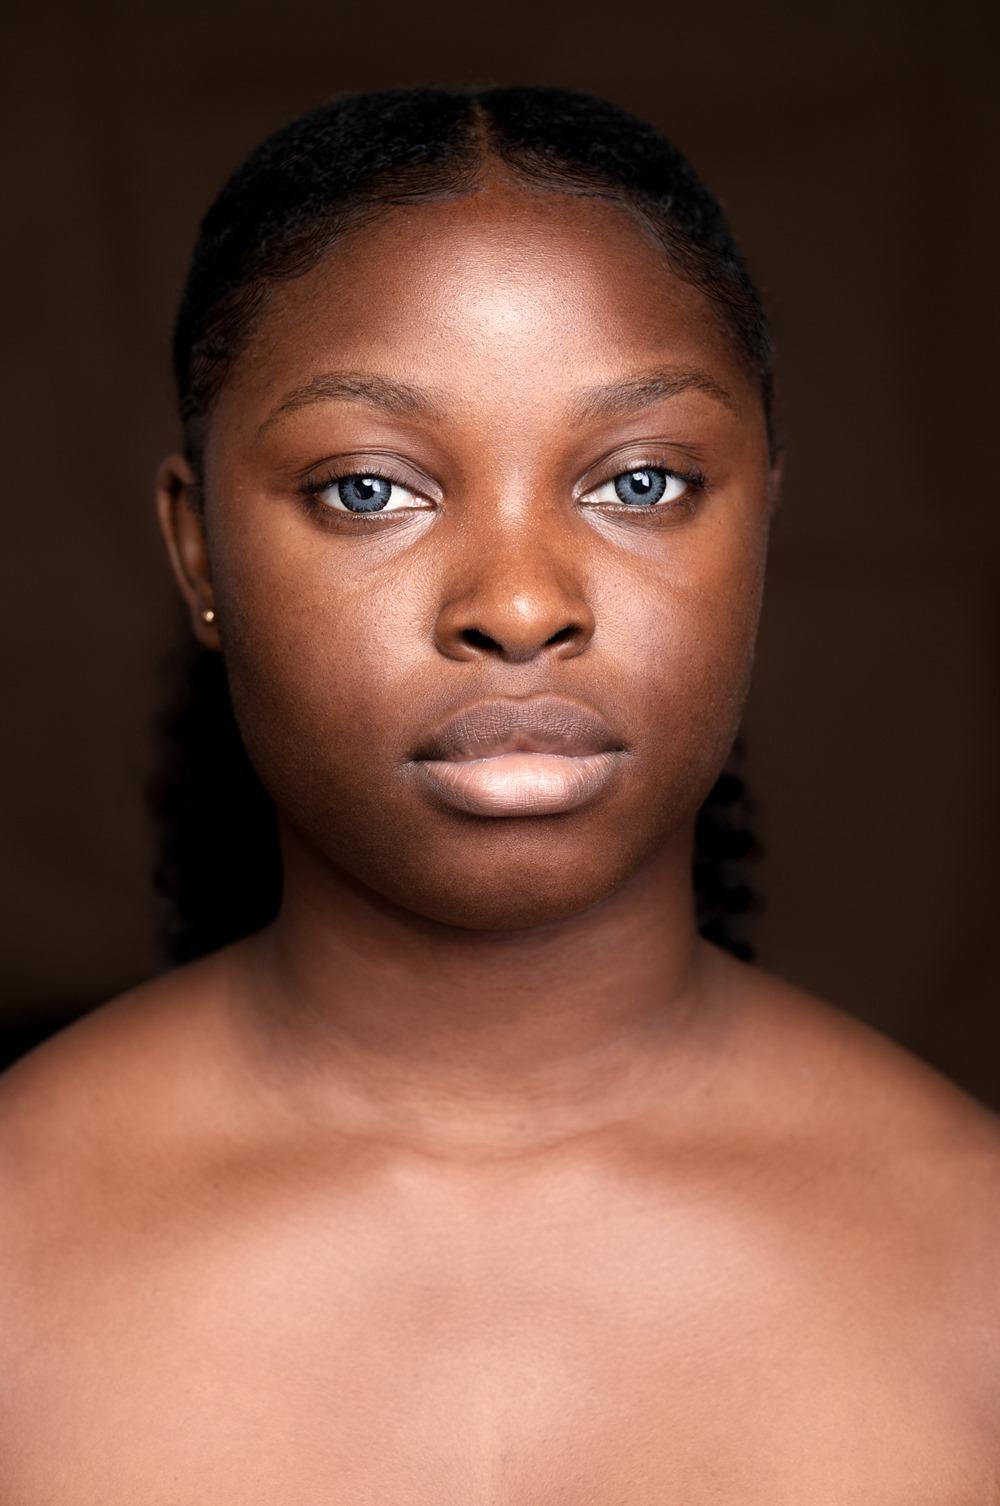


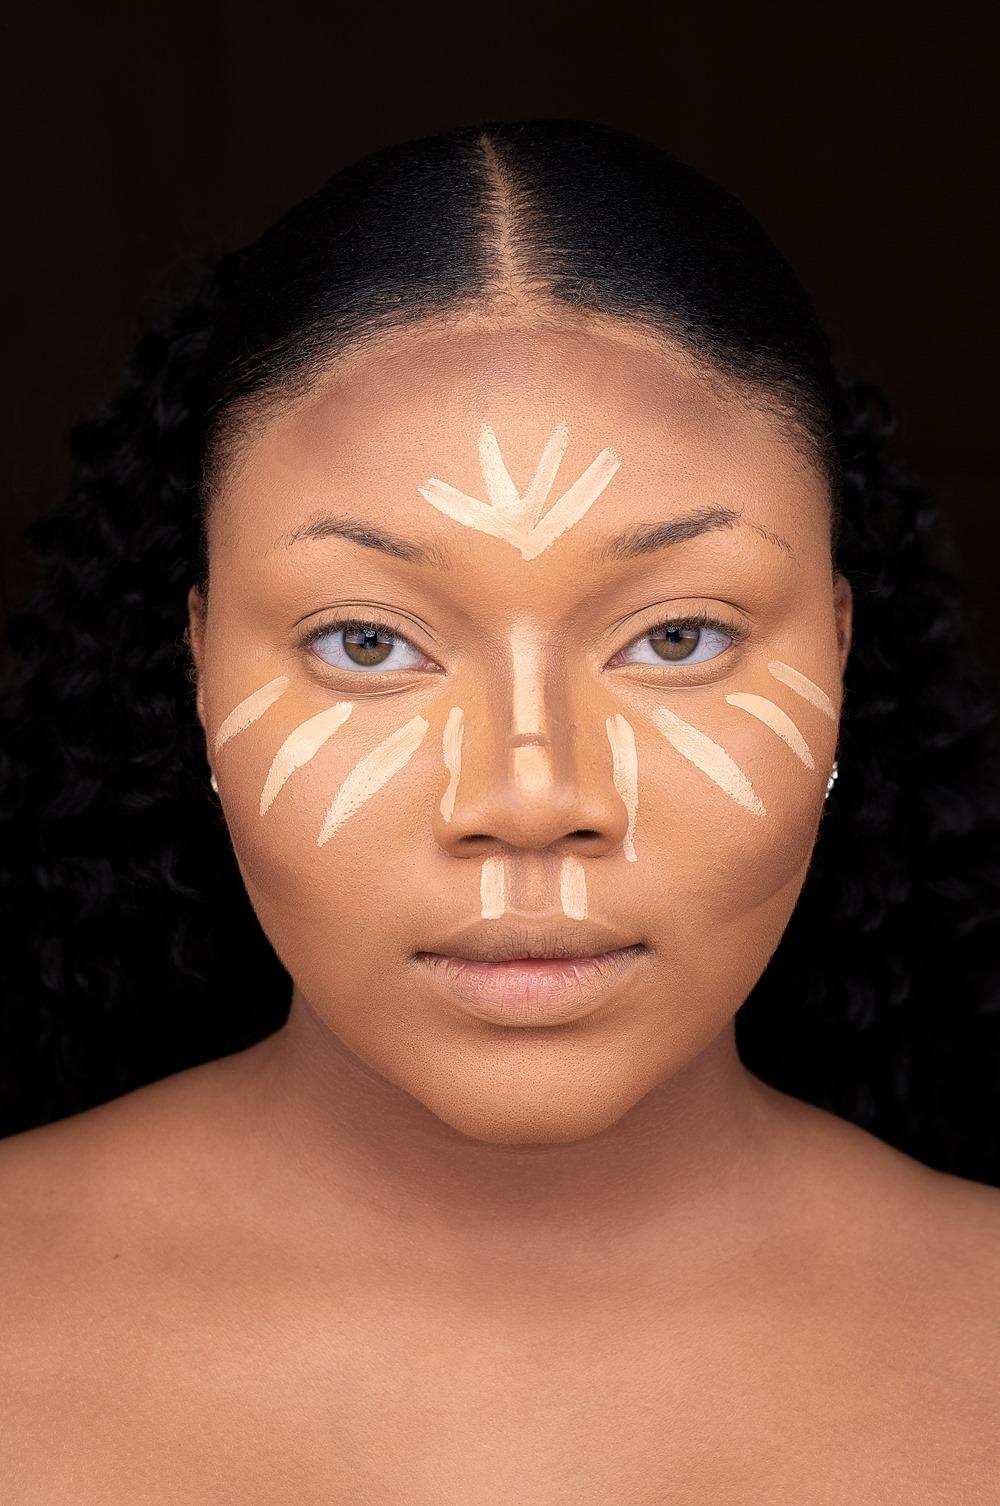


Contour is usually several shades darker than your natural skin tone. While highlight should be two shades lighter. Contour should be applied on the sides of your nose, under your cheekbones, your temple, and the bottom of your chin and jawline. Highlighter should be applied down the bridge of your nose, above your cupid’s bow, your under eye, your forehead, and on your brow bones.
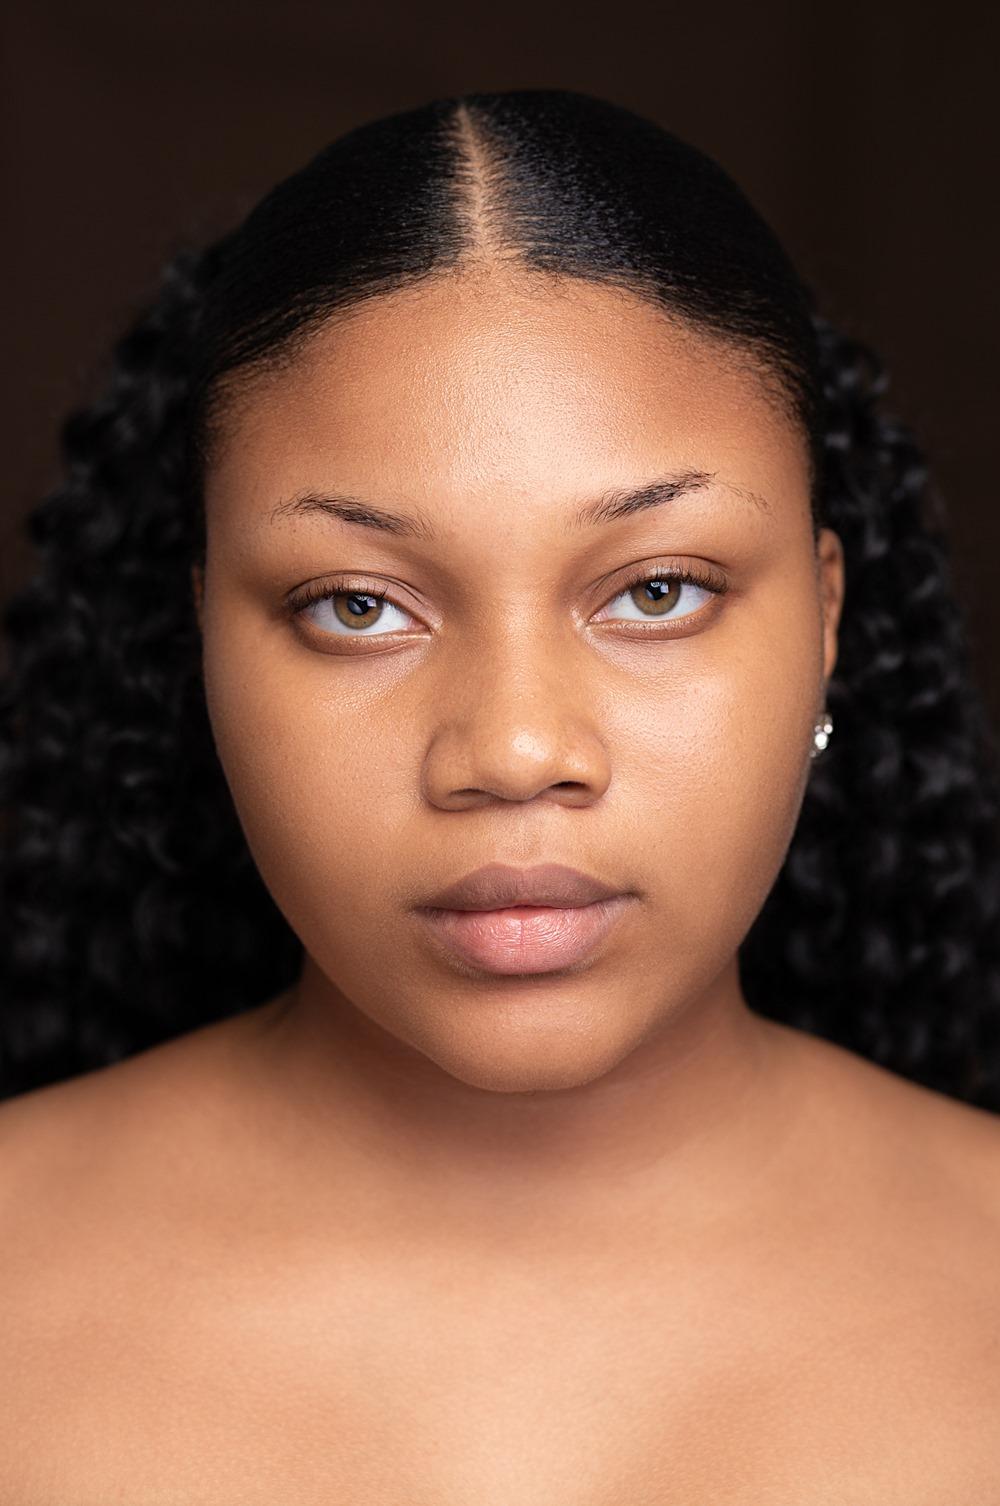
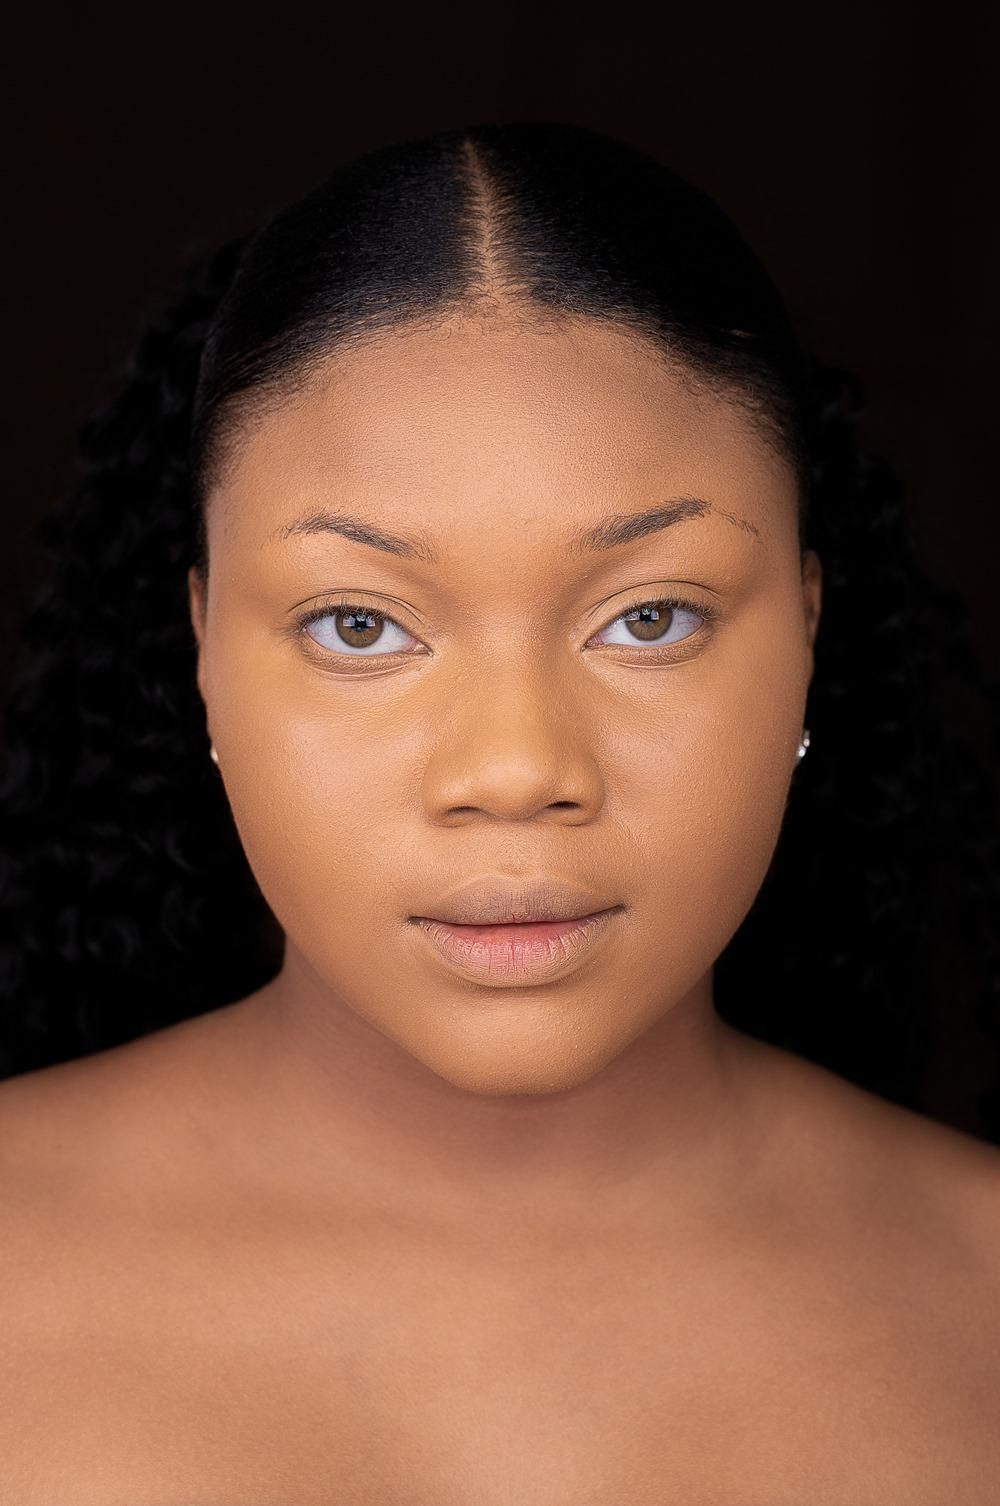
See illustrations above.
Tools needed: Foundation, Concealer, Setting Powder, Pressed Powder, Blending Sponge, *Optional: Setting Spray
4 Simple Steps To Highlighting and Contouring
- After applying foundation, use a concealer to highlight and contour the areas as mentioned and showed in the pictures above.
- Using a damp blending sponge, blend the concealer with the foundation. Both products must blend into each other such that you cannot tell where one meets the other.
- Set your highlighted parts with matching shade of setting powder, and set the contoured parts with matching shade of pressed powder.
- Finish up the look by using a clean brush to blend your contour into your foundation and highlight.
One more tip: Mist a setting spray onto your face. This is highly recommended. A setting spray will hold your makeup in place, and keep everything looking natural and not so “cakey”.
And you’re done!


