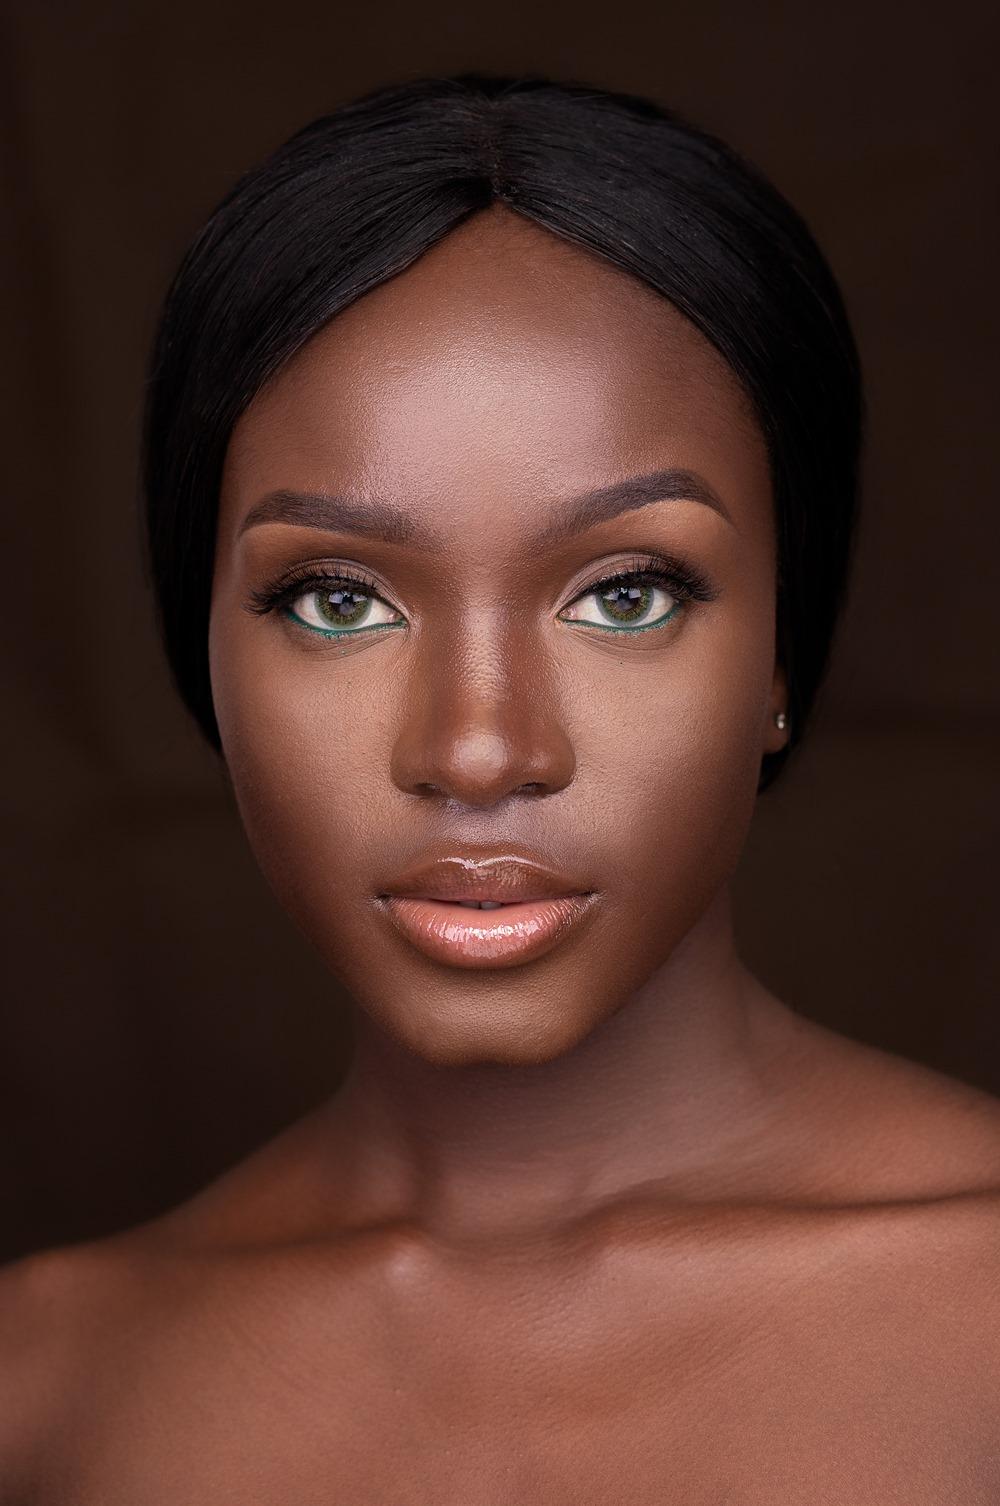
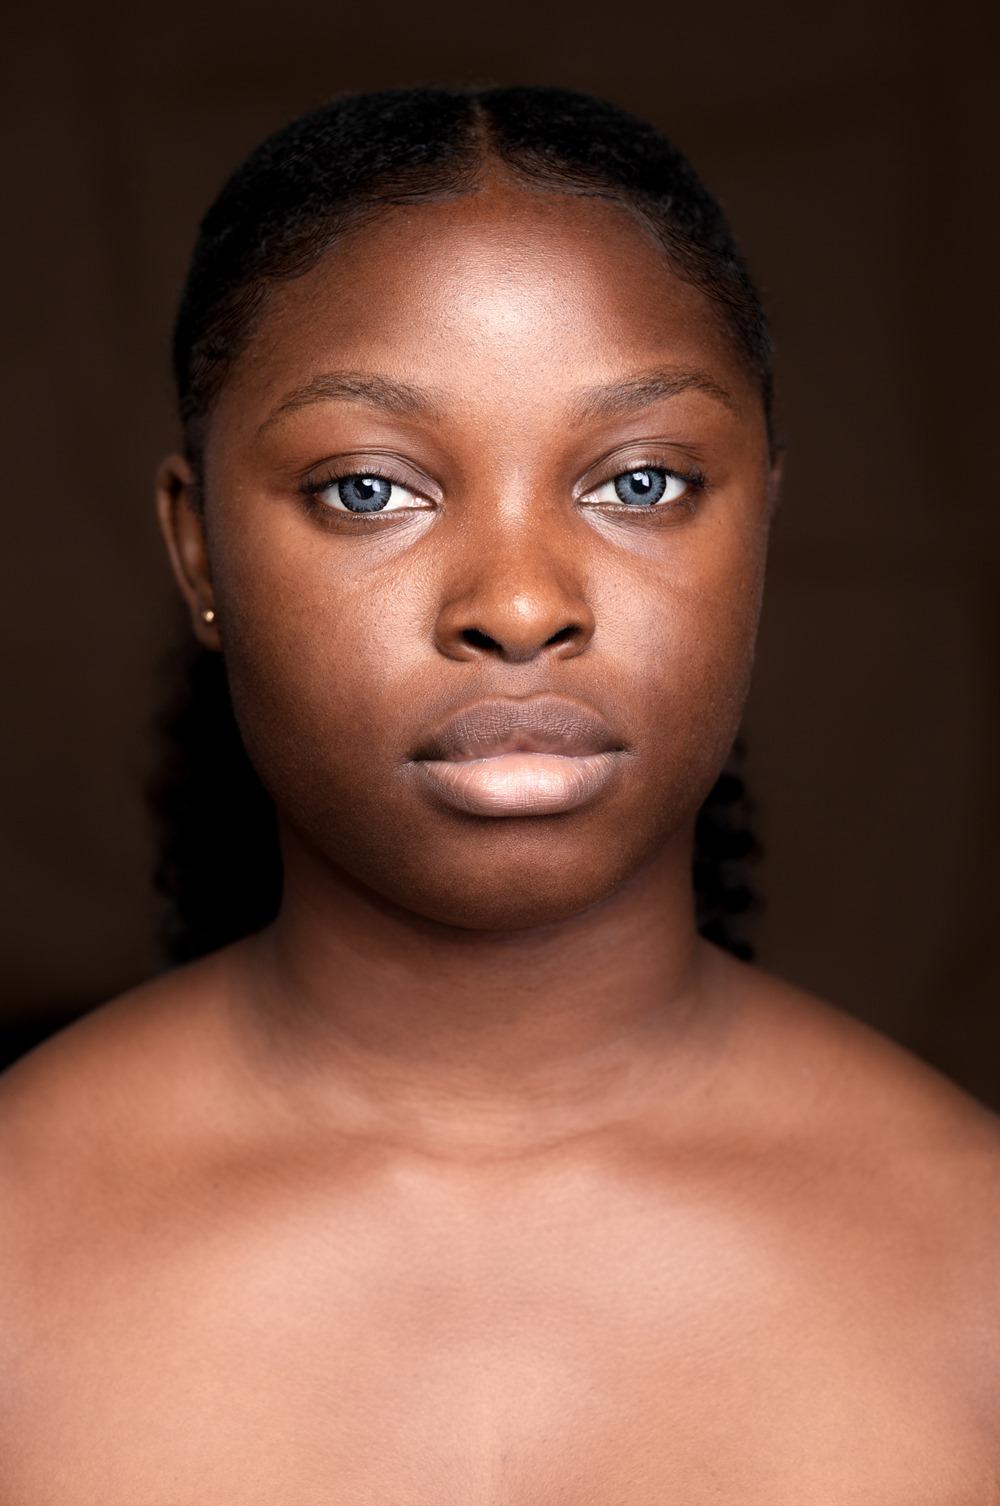
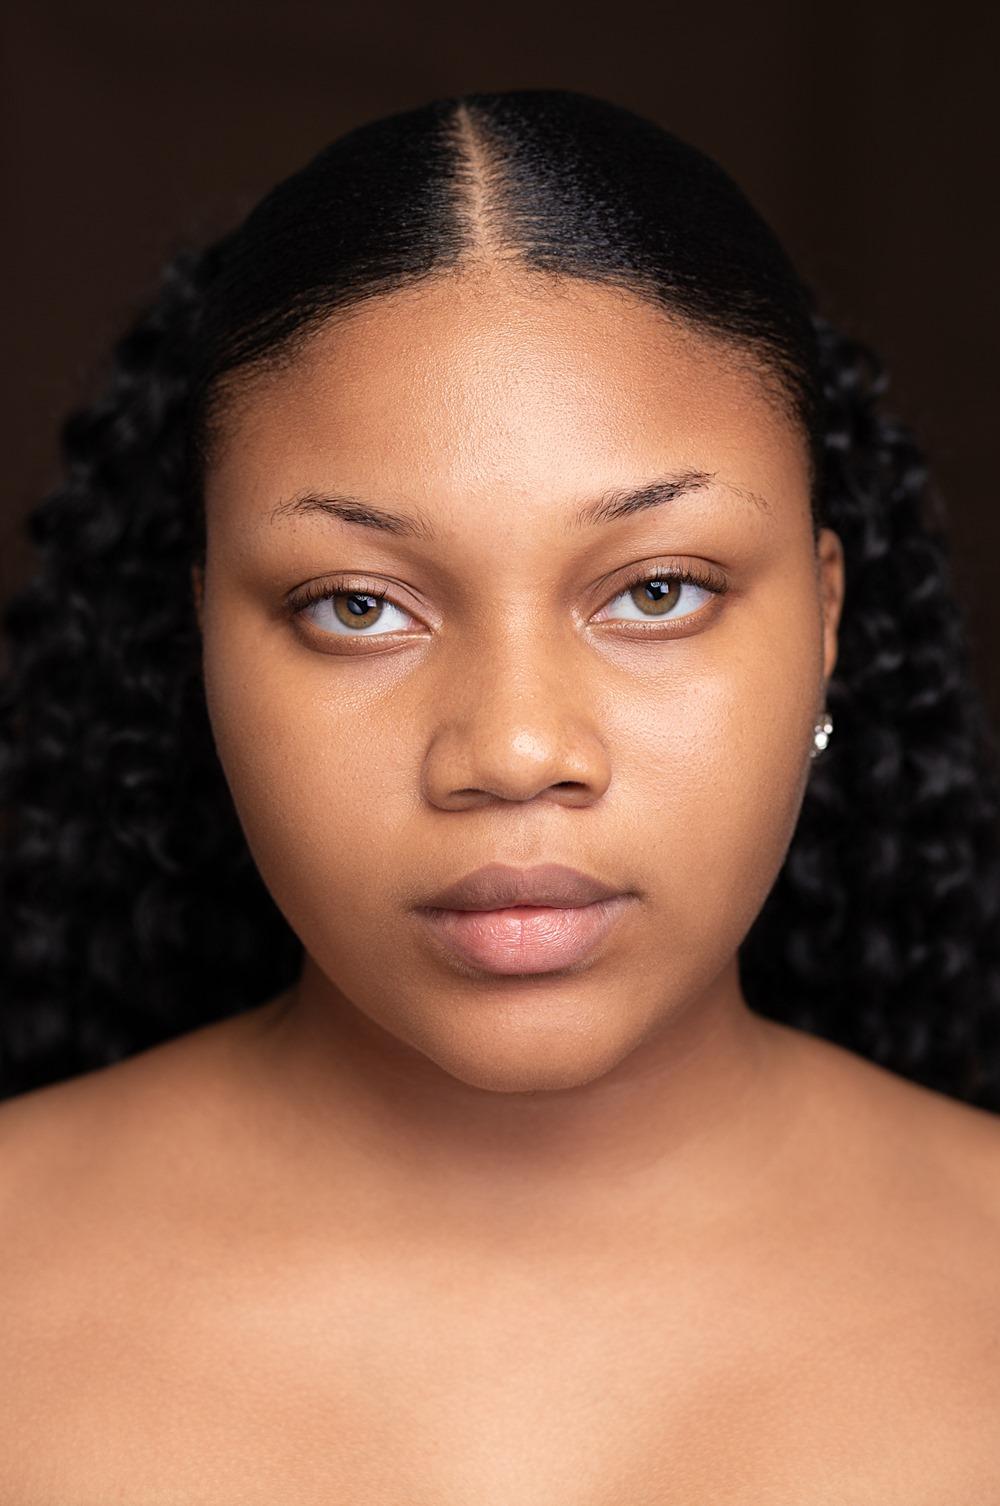
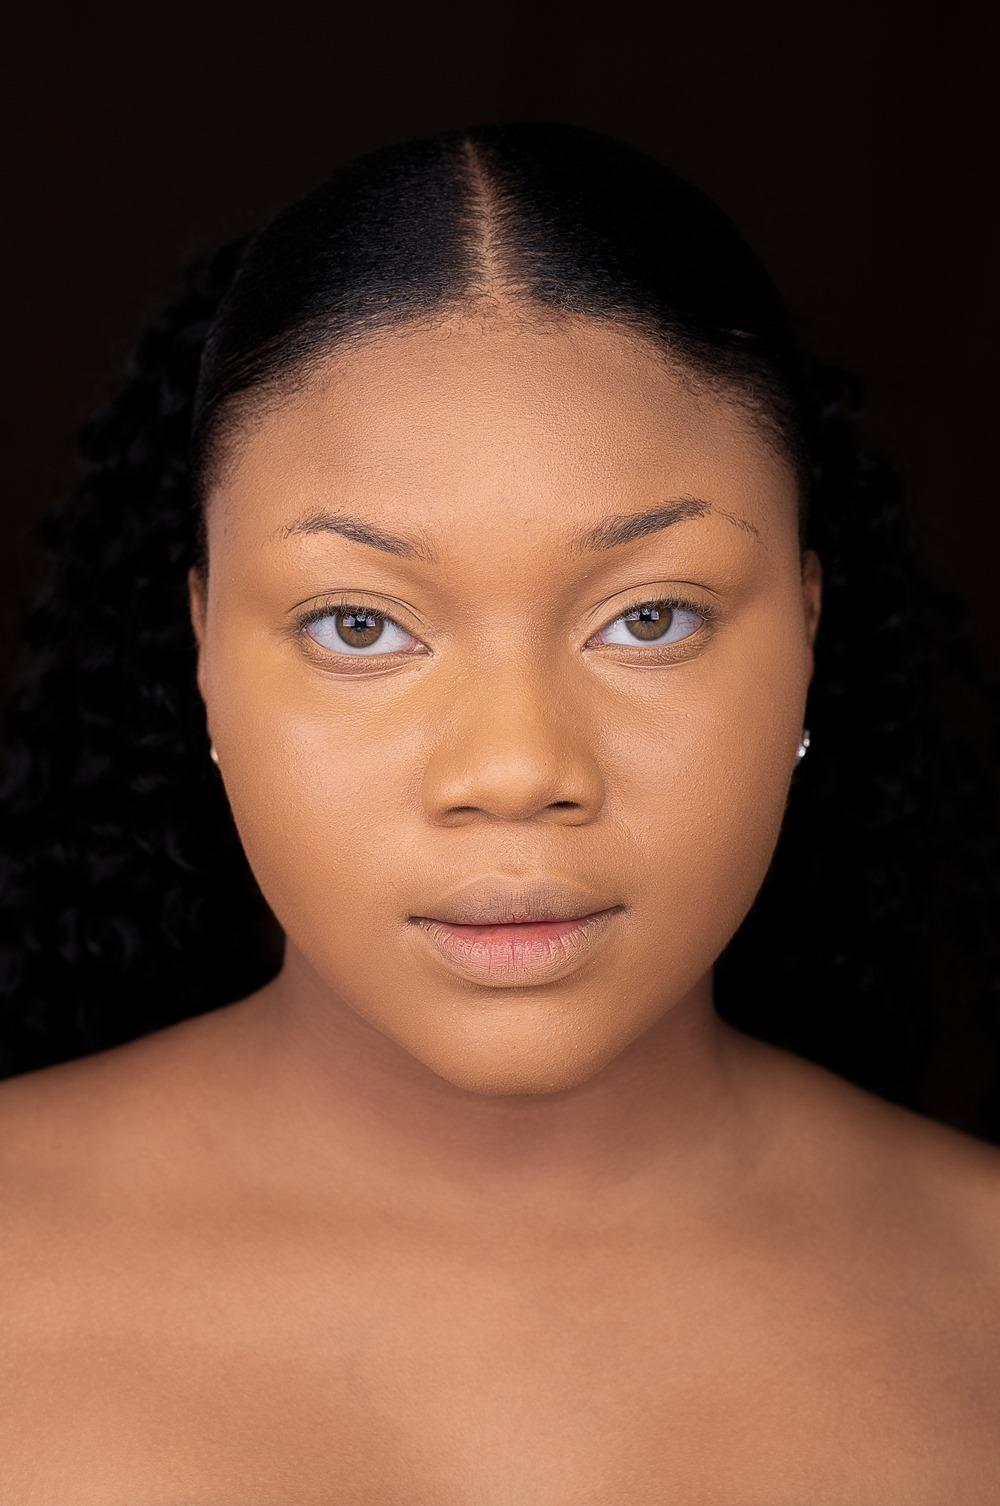
Define your crease: Add some more depth and dimension to your beginner eye makeup look by using a warm brown shade. A simple eyeshadow technique to get the perfect crease transition shade is to load up a small, fluffy blending brush with the eyeshadow shade and running it gently across your crease in back and forth windshield wiper motion. Remember to use a very light hand as you do not want your crease colour to have any harsh lines or look patchy.
Apply on eye lid: Use a light eyeshadow color on the inner corner of her cut crease and on the outer corner to fill in her lid.
Finish the rest of your eye makeup: We have finally arrived at the last step of the eyeshadow guide! Take your eye makeup look to the next level by defining your waterline with our jet black eyeliner gel, outlining your lash line and getting long and fluttery lashes with a generous coat of our max out mascara. Do not go overboard with these products as you want to keep your makeup look minimal and effortless.
Begin by brushing the brows along their natural lines.
Then, gently trace the bottom part of the brow following the natural arch with any of our brow pow/eyebrow definer that matches your skin tone. Make sure to trace the brows to the end/align with your natural arch.
Trace the upper brow just like the lower area described in step 2. Make sure to trace the entire line to the end of the upper brow
Gently fill in light strokes with the brow pow/eyebrow definer. Brush the brows with a lash brush to set the brows naturally.
Define the brow bone with concealer or foundation 1-2 shades lighter than your shade to achieve clean brows.
When you apply foundation, your face instantly becomes flat, because all the dimension on your face have been removed, and then your face has this singular shade all round. The essence of highlighting and contouring is to restore warmth and dimensions to your face, or to create an illusion of one. Contouring helps make parts of your face recede and appear slimmer and more defined, while highlighting helps emphasize the existing glow of your face where the sun naturally hits.
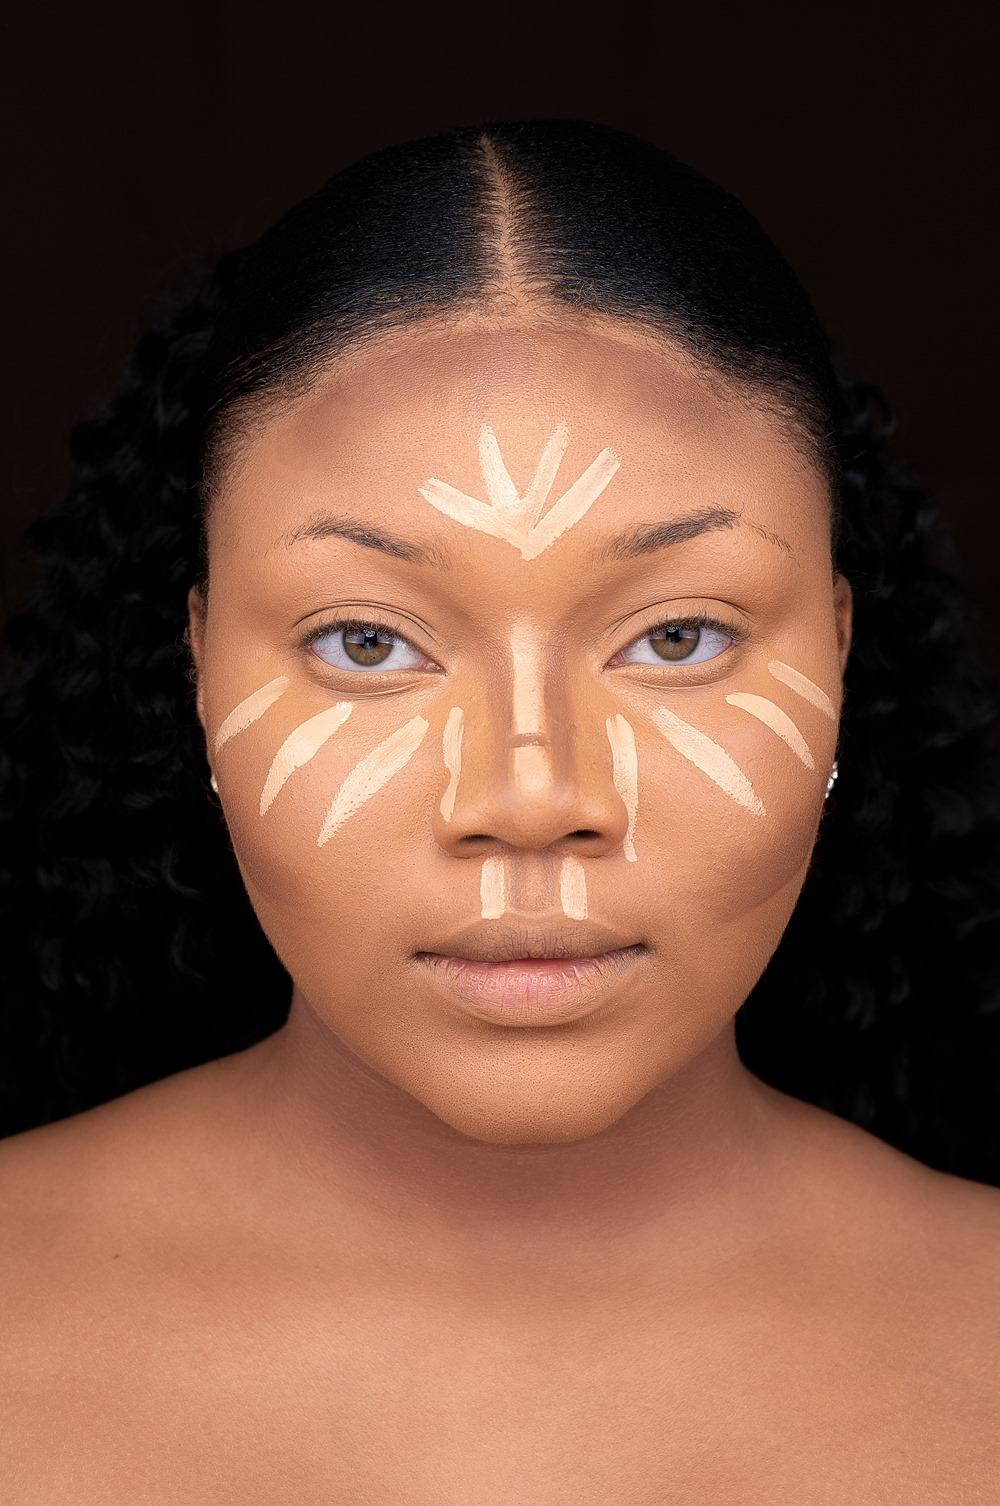
Contour is usually several shades darker than your natural skin tone. While highlight should be two shades lighter. Contour should be applied on the sides of your nose, under your cheekbones, your temple, and the bottom of your chin and jawline. Highlighter should be applied down the bridge of your nose, above your cupid’s bow, your under eye, your forehead, and on your brow bones.
After applying foundation, use a concealer to highlight and contour the areas as mentioned and showed in the pictures above.
Using a damp blending sponge, blend the concealer with the foundation. Both products must blend into each other such that you cannot tell where one meets the other.
Set your highlighted parts with matching shade of setting powder, and set the contoured parts with matching shade of pressed powder.
Finish up the look by using a clean brush to blend your contour into your foundation and highlight.
One more tip: Mist a setting spray onto your face. This is highly recommended. A setting spray will hold your makeup in place, and keep everything looking natural and not so “cakey”.
Shopping for the right products that suit your desired skin finish can be a difficult task especially if you don’t understand formulas. And sometimes it could even be that you understand formulas but wish to get the most from the few products you have. I mean what’s makeup if you can’t have a bit of fun with it right? Don’t sweat it, achieving different skin finishes from only one foundation is what this post is all about!
So there are different types of foundation finishes out there – matte, satin/velvet matte, and dewy/illuminating finishes. Hegai & Esther has one foundation finish, velvet matte, but the good thing about our formula is that you can tweak it to give you whatever finish you want. Killing three birds with one stone right? You bet it is!
VELVET: Primer, Foundation, Pressed Powder, Flash Pan, and Velvet Matte LipstickMATTE: Primer, Seal, Foundation, Setting Powder, and Pressed PowderDEWY: Primer, Flash Drops, Foundation, Pressed Powder, Flash Drops, and Lipgloss
VELVET MATTE FINISH The velvety skin finish is a soft and satin-like finish that appears slightly dewy but with matte effects. In other words it isn’t dewy, and neither is it matte, it is right in between both finishes. This finish is great for all skin types. H&E Foundation has a velvet matte finish making it the best foundation option for this purpose, I’m just gonna highlight how you can combine it with our other products to give you that overall porcelain-like finish.
1. Prime your skin. It is important you prime your skin right after cleaning and moisturizing it. Skin Filter Primer will give your skin a smooth base, help to give you an even skin tone, and also prolong makeup wear.
2. Apply foundation using a brush if you want a slightly more matte finish, or a sponge for a sheer coverage.
3. Set with pressed powder only in the areas you don’t want excess shine, particularly the T-Zone: nose, forehead, under the eyes, chin, and above the lip.
4. Velvet Matte does not mean zero glow, so go ahead and highlight your high points using Flash Pan.
5. Finally, crown the entire look with a swipe of velvet matte lipstick.
There you have it! Your skin will look like a flawless mix of matte and dewy in all the right places.
MATTE FINISH
A Matte skin finish has no shine to them whatsoever, and tends to appear dry, which means you never have to worry about your face bursting into an oily ball by midday. A matte finish is ideal for oily and combination skin types as they last longer and help to minimise the appearance of pores and imperfections. See below how to get a matte skin finish using Hegai & Esther products.
1. Clean, moisturize, and prime. Skin filter primer holds back excess oil, creates an even base for your other makeup to go on, and minimize the appearance of large pores and fine lines.
2. My favorite part of achieving a matte finish is mixing Makeup Seal with foundation. Fondly called magic potion, makeup seal takes whatever it is mixed with and turns it matte, smudge proof and waterproof. Mix 2 drop with Photo Perfect Foundation, or apply directly on your skin using a whisking brush.
3. Set the face with loose setting powder. Loose powders are dry and finely milled, and tend to absorb excess oil on the face. So it is a good idea to first set the face with little loose powder and then finish up with pressed powder. This combination never fails, just press the powder onto your face whilst paying extra attention to the areas that tend to get oily.
4. Matte skin finish can sometimes have a flat look, so if you feel you’re looking too flat and need to add some life to your look, use a highlighter. Just steer clear of liquid and cream highlighters, and stick to powder highlighters instead. Flash Pan is a well refined, oil-free pressed powder highlighter, simply apply it on places that tend to be less oily on your face, could be your cheekbones, cupid’s bow, brow bone, basically any part that wouldn’t emphasize oil.
So you see, getting a matte skin really isn’t impossible. All you need is the right combination of tools, products and techniques which Hegai & Esther offers.
DEWY SKIN FINISH
What exactly is a dewy makeup finish? A lot of people confuse dewy makeup with shine, and shimmer, meanwhile dewy makeup actually is all about hydration, freshness and radiance. The goal is to have a natural glow so pleeeaase don’t go about looking like you ran into a jar of oil all in the name of dewy skin! The following are steps to achieving a dewy finish using H& E products.
1. Start by cleaning and moisturizing your face with products high in humectants.
2. Apply a mattifying primer. This may sound contradictory but remember what you’re after is a fresh, dewy finish not an oily shiny one. Our Skin Filter Primer will create a smooth canvas for your foundation to go on whilst also holding back excess oil.
3. To achieve a skin-like radiance that shines from under your foundation, apply our liquid highlighter, Flash Drops, to areas of your face where the sun hits the most, that is the cheeks, nose, and chin.
4. Apply foundation using a brush or damp blending sponge. For more luminosity mix some drops of the Flash Drops with the foundation.
5. Set with a pressed powder, but do not apply too much.
6. Now if you want a little bit of the extra glow, you can go in with some flash drops on your cheeks, forehead, chin, and bridge of nose.
7. And finally, crown it all with a glossy pout. But if you want a contrasting appeal to your already dewy skin you can either apply matte or velvet matte lipstick.
Full, well defined brows aren’t just for those who were naturally blessed with them. Those with thin, sparse eyebrows can achieve a fuller looking well defined brow with the help of three major products – brow filler, spoolie, concealer, and foundation. For this look I used our Brow Pow!, Photo Perfect Concealer, and Photo Perfect Foundation.
1. I always like to start by brushing the brows along their natural lines, which was exactly how I started this look.
2. Using Brow Pow! in the shade Ebony, I traced out the shape I wanted to achieve starting with the inner part of the bottom brows. After which I did same for the upper brows.
3. Then I worked the pencil into the brows shading upwards from the bottom defining line that I drew on first. I drew hair-like strokes in places where the hairs are sparse, and painted slightly where there wasn’t hair at all.
4. Using the spoolie brush at the end of the pencil, I brushed out her hair to make sure everything looks well blended and natural where the brow pencil has been applied.
5. I wanted to define the created brows and also highlight the brow bones at the same time, so starting from the inner bottom brows I swiped her foundation shade all the way to the start of the arch, then a light shade of concealer from there all the way to the end of the brows.
6. Blend! Blend! Blend, and you are fab to go!
What are your go-to products for defining your eyebrows? Please share in the comments box below 👇🏾
Easy Steps On How To Create This Soft Glam Makeup Look
There are so many different ways to achieving a soft glam makeup, a lot of which are very effective and give the desired result. In this tutorial I will be sharing how I achieved this simple makeup look following ten simple steps.
1. First I cleansed and moisturized her skin.Then 2. I applied face primer on her T-zone. 3. I allowed the primer to set for a minute then I went in with a sheer amount of Photo Perfect foundation in the shade cocoa.
4. I wanted to brighten the model’s under eye and forehead so I applied a sheer amount of concealer in those areas, after which I set with setting powder.
5. To set the foundation, I used pressed powder in the shade HW37.
6. To define the brows I used Brow Pow! in the shade Ebony.
7. Soft look doesn’t always mean nude eyes, so I used a combination of matte eyeshadows in the shades Terrestrial and Harmattan.
8. I curled her lashes using mascara. Then attached a natural looking faux mink eyelashes in the style 3D-612.
9. I wanted more colors on her face so I used Artistick lipsticks in Cuddle and Lagos Party. Cuddle to frame the lips, Lagos Party to fill.
10. To crown the whole look, I applied a bit of, highlighter on her high points which are her cheek bones, brow bones, forehead and chin.
And that’s it! It looks like a lot of steps, but once you get into your routine, the application goes by so fast. Let me know if you have any questions or any makeup looks you’d like me to share.